
本記事の概要
この記事では Entry コントロールをパスワード入力用にするる方法について説明をします。
公式サイト情報はコチラを参照してください。
パスワード入力用にする例
パスワード入力用にする例
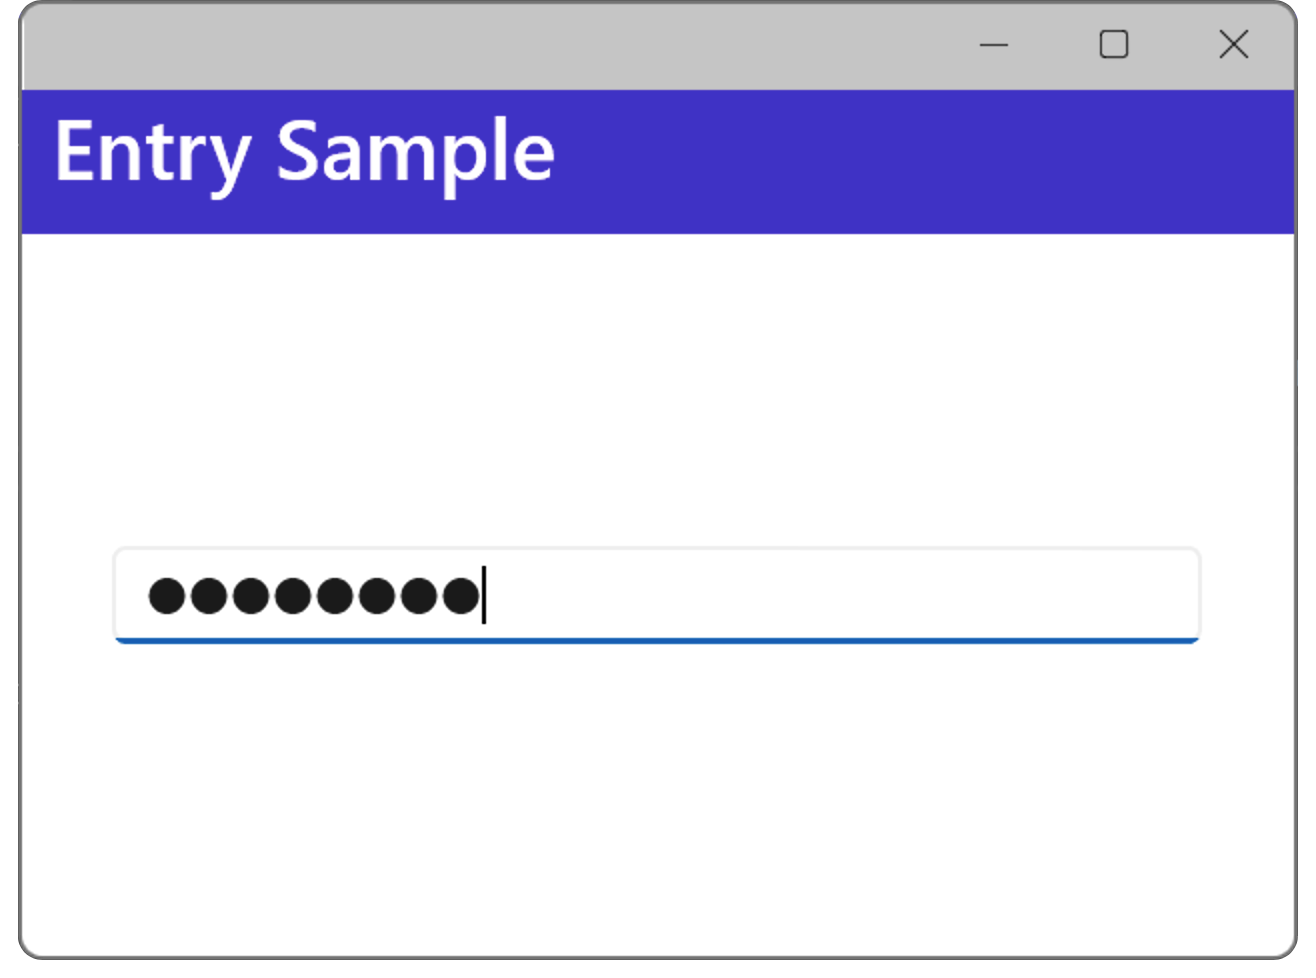
Entry コントロールは、通常のテキストを入力する他に、パスワード入力のコントロールにすることができます。Entry コントロールをパスワード入力用にするには IsPassword プロパティを True に設定します。既定値は False です。
XAML の例
XAML で Entry コントロールをパスワード入力用にする例を以下に示します。
XAML の例
<?xml version="1.0" encoding="utf-8" ?>
<ContentPage xmlns="http://schemas.microsoft.com/dotnet/2021/maui"
             xmlns:x="http://schemas.microsoft.com/winfx/2009/xaml"
             x:Class="MauiAppSample.MainPage">

    <ScrollView>
        <VerticalStackLayout Spacing="25" Padding="30,0" VerticalOptions="CenterAndExpand">

            <Entry IsPassword="True" />

        </VerticalStackLayout>
    </ScrollView>

</ContentPage>
C# の例
以下は 先ほどのXAML の例を コードビハインドで行う例です。
C# の例
public MainPage()
{
    InitializeComponent();
    myEntry.IsPassword = true;
}
XAML の例
<?xml version="1.0" encoding="utf-8" ?>
<ContentPage xmlns="http://schemas.microsoft.com/dotnet/2021/maui"
             xmlns:x="http://schemas.microsoft.com/winfx/2009/xaml"
             x:Class="MauiAppSample.MainPage">

    <ScrollView>
        <VerticalStackLayout Spacing="25" Padding="30,0" VerticalOptions="CenterAndExpand">

            <Entry x:Name="myEntry" />

        </VerticalStackLayout>
    </ScrollView>

</ContentPage>
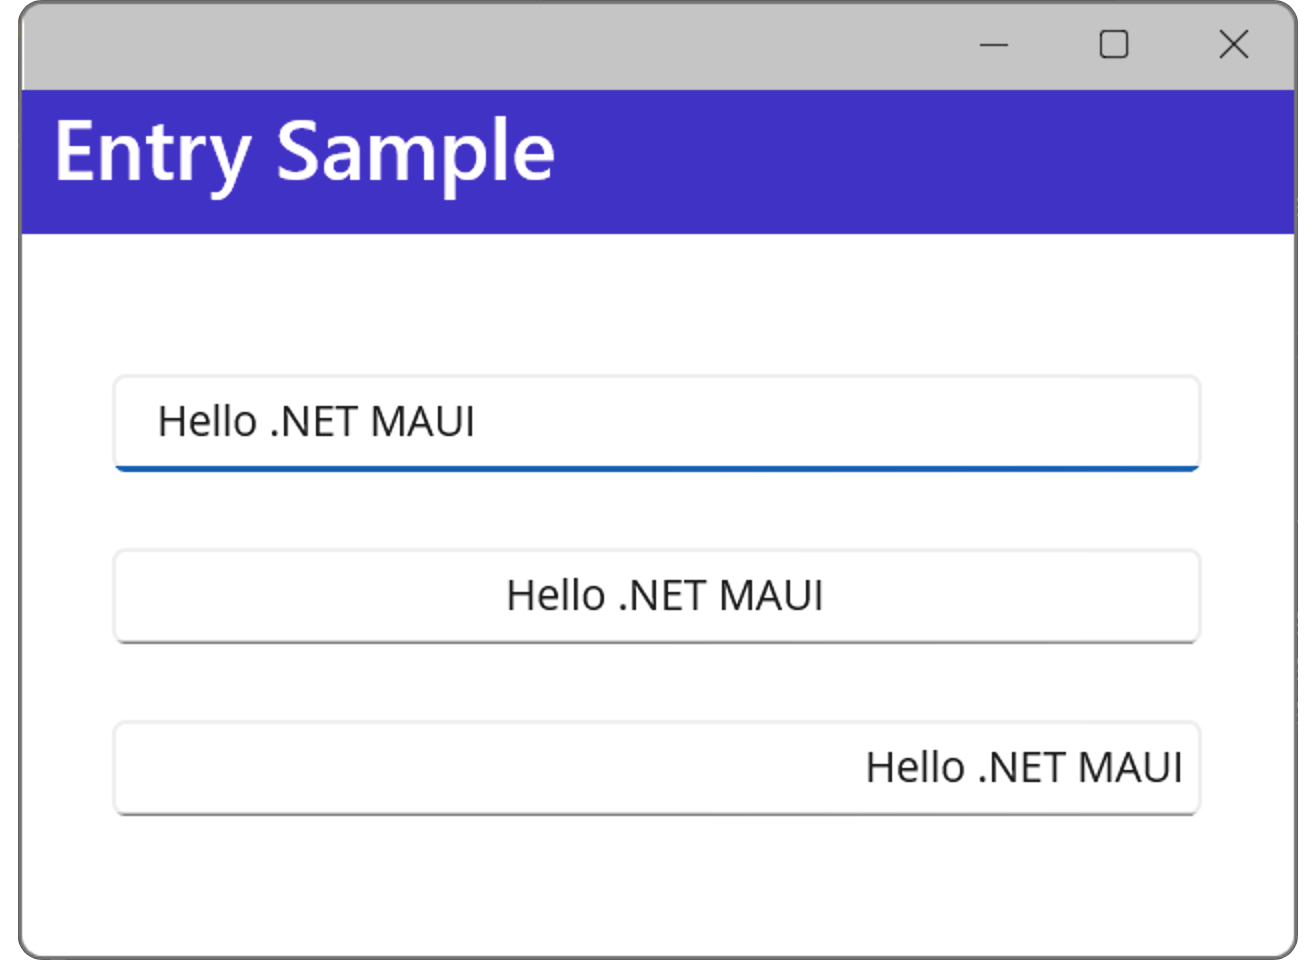
水平方向のテキスト配置位置を設定する例
.NET MAUI Tips
本サイトでまとめている .NET MAUI Tips の一覧はこちらから確認できます。
Please follow and like us:

コメント