
本記事の概要
この記事では ObservableCollection を使用したバインディングについて説明します。
公式サイト情報はコチラを参照してください。
ObservableCollection によるバインディングの例
ObservableCollectionとは?
データバインディングは、単一項目のデータバインディングの他に、コレクションをバインディングすることができます。
このコレクションをバインディングするときに使用するのが ObservableCollection です。
ListView や Picker など、.NET MAUI でコレクションのデータバインディングを行う場合はObservableCollectionを使います。
ObservableCollection で管理するクラスを作成する
ここでは、Picker コントロールに複数の氏名を表示するサンプルを例に、ObservableCollection の使用方法を説明します。
はじめに、ユーザー名を管理するシンプルなクラスを作成します。コード例は以下の通りです。
クラス名は User で Name プロパティを持っています。
C# の例
public class User
{
    public string Name { get; set; } = string.Empty;
    public User(string name)
    {
        this.Name = name;
    }
}
続いて、ObservableCollection で上記の User クラスを管理できるようにします。コード例は以下の通りです。
public ObservableCollection<User> Users { get; set; }
データを追加する
続いて、先ほど作成した ObservableCollection の Users にデータを追加します。
Add メソッドを使用して、1つずつデータを追加します。
Users = new ObservableCollection<Users>();
Users.Add(new User("Bill Gates"));
Users.Add(new User("Steve Jobs"));
Users.Add(new User("HIRO"));
データをバインディングする
先ほど追加したデータは、そのままでは XAML にバインディングすることはできません。
BindingContext を使用してデータをバインディングします。
this.BindingContext = this;
C# のコードの全貌
コードの全貌は以下の通りです。
using Microsoft.Maui.Controls;
using System.ComponentModel;
using System.Collections.ObjectModel;
using System.Diagnostics;

namespace MauiAppSample;

public partial class MainPage : ContentPage
{
    public ObservableCollection<Users> { get; set; }

    public MainPage()
    {
	InitializeComponent();

        Users = new ObservableCollection();
        Users.Add(new User("Bill Gates"));
        Users.Add(new User("Steve Jobs"));
        Users.Add(new User("HIRO"));
        this.BindingContext = this;
    }
}

public class User
{
    public string Name { get; set; } = string.Empty;
    public User(string name)
    {
        this.Name = name;
    }
}
XAML によるデータのバインディング例
先ほど作成した ObservableCollection の Users をバインドする XAML の例を以下に示します。
Picker の ItemSource に {Binding Users} を設定し、表示するアイテムとして ItemDisplayBinding に {Bindong Name} を設定します。これで、Users の Name プロパティがバインディングされます。
XAML のコード例は以下の通りです。
<?xml version="1.0" encoding="utf-8" ?>
<ContentPage xmlns="http://schemas.microsoft.com/dotnet/2021/maui"
             xmlns:x="http://schemas.microsoft.com/winfx/2009/xaml"
             x:Class="MauiAppSample.MainPage"
             >
    <ScrollView>
        <VerticalStackLayout
            Spacing="25"
            Padding="30,0"
            VerticalOptions="Center">

            <Picker
                ItemsSource="{Binding Users}"
                ItemDisplayBinding="{Binding Name}" />

        </VerticalStackLayout>
    </ScrollView>

</ContentPage>
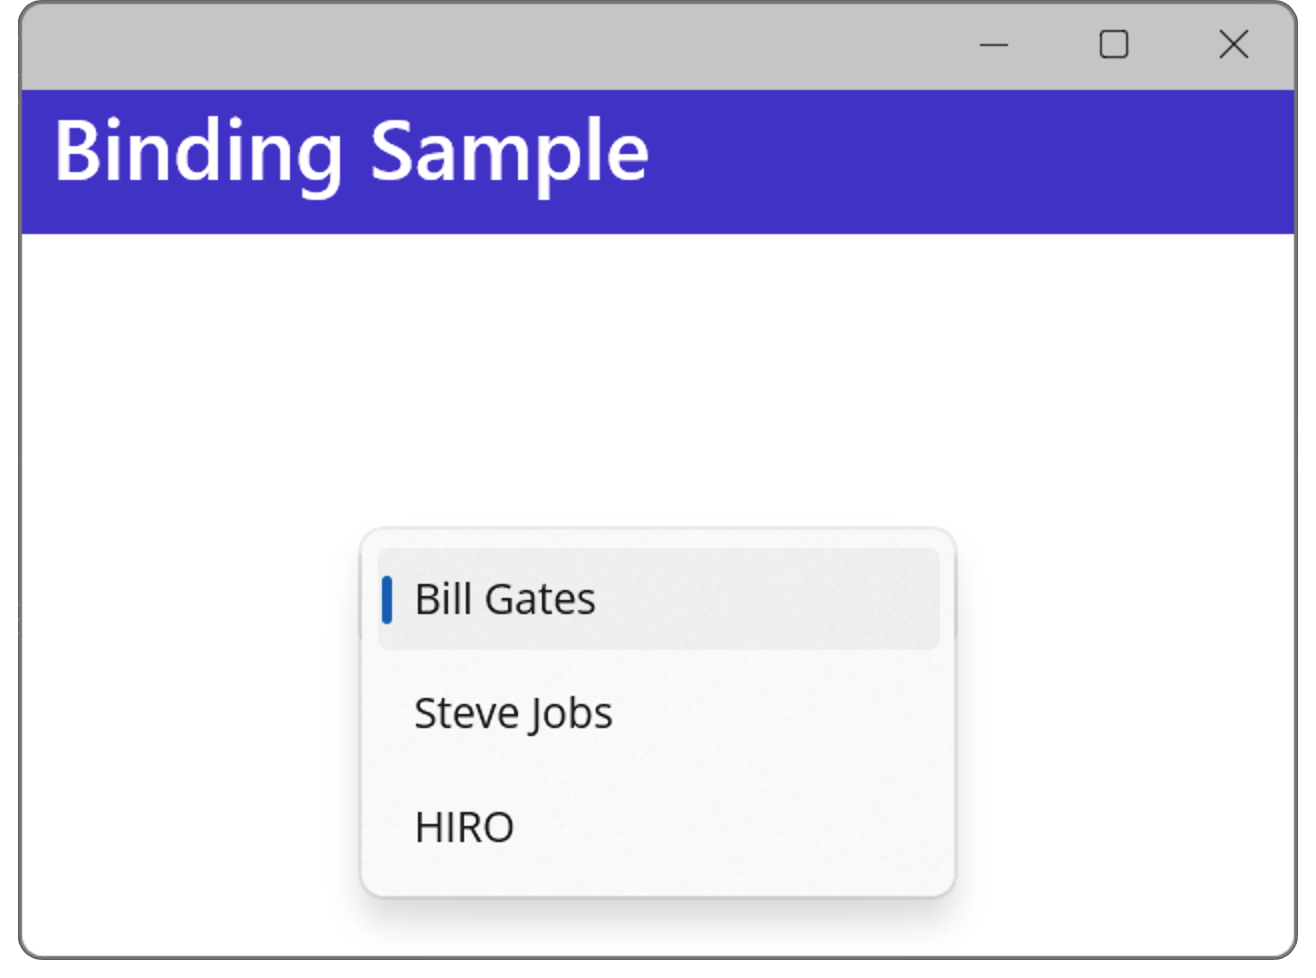
実行例
実行例は以下の通りです。
ObservableCollection によるバインディングの例
.NET MAUI Tips
本サイトでまとめている .NET MAUI Tips の一覧はこちらから確認できます。

コメント