
本記事の概要
この記事では Editor で水平方向と垂直方向のテキスト配置位置を設定する方法について説明をします。
公式サイト情報はコチラを参照してください。
水平方向のテキスト配置位置を設定する例
垂直方向のテキスト配置位置を設定する例
テキストの水平方向配置
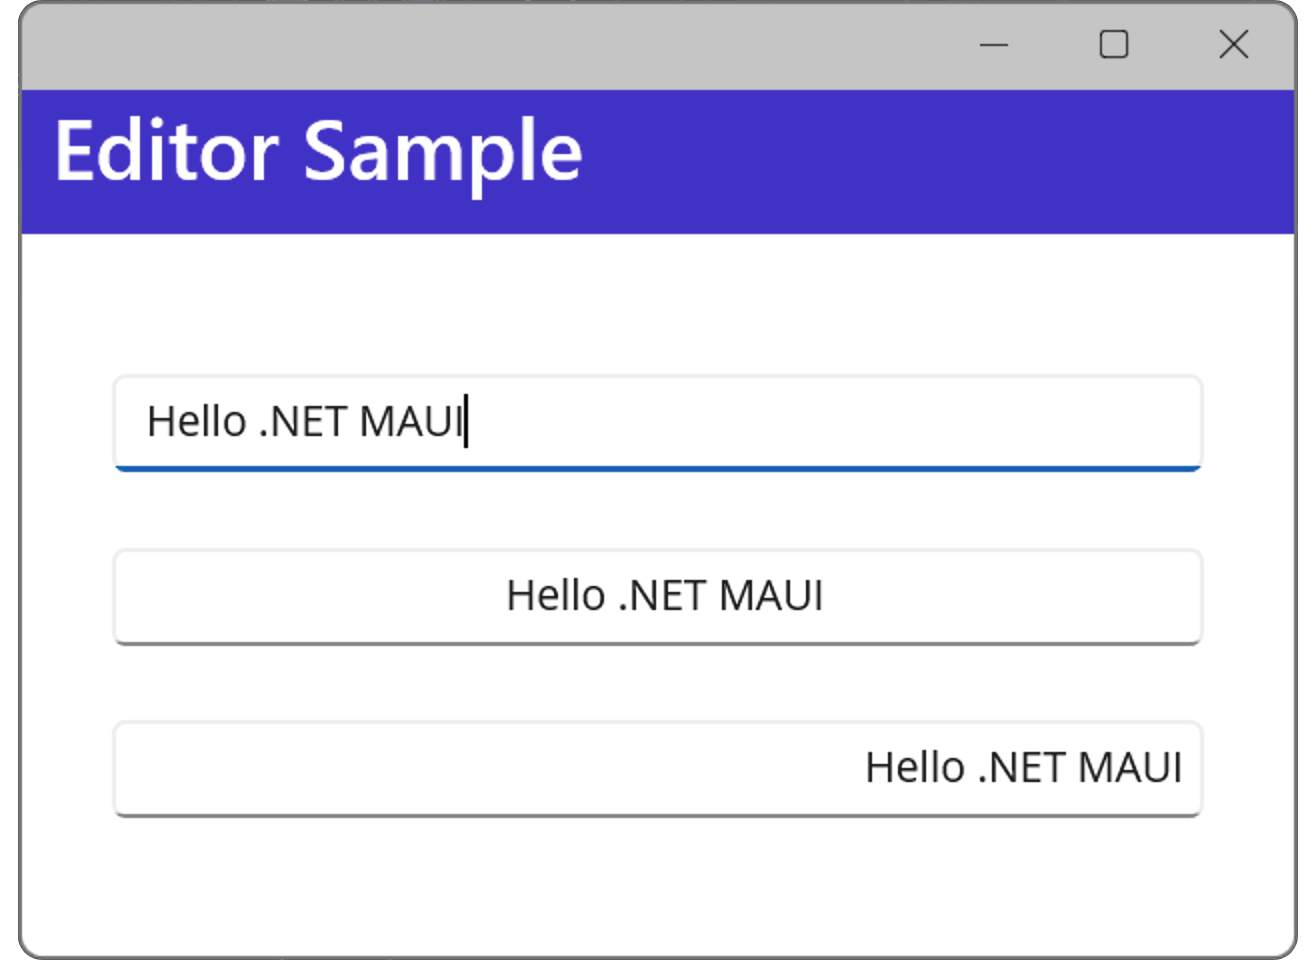
Editor に入力するテキストは、HorizontalTextAlignment プロパティを使用して水平方向の配置位置を設定することができます。
| 値 | 説明 |
| Start | 左寄せ |
| Center | 中央 |
| End | 右寄せ |
XAML の例
XAML でテキストの水平方向の配置位置を設定する例を以下に示します。
この例では 3つのEditor に左寄せ、中央寄せ、右寄せを設定しています。
XAML の例
<?xml version="1.0" encoding="utf-8" ?>
<ContentPage xmlns="http://schemas.microsoft.com/dotnet/2021/maui"
             xmlns:x="http://schemas.microsoft.com/winfx/2009/xaml"
             x:Class="MauiAppSample.MainPage">

    <ScrollView>
        <VerticalStackLayout Spacing="25" Padding="30,0" VerticalOptions="CenterAndExpand">

            <Editor Text="Hello .NET MAUI" HorizontalTextAlignment="Start" />
            <Editor Text="Hello .NET MAUI" HorizontalTextAlignment="Center" />
            <Editor Text="Hello .NET MAUI" HorizontalTextAlignment="End" />

        </VerticalStackLayout>
    </ScrollView>

</ContentPage>
C# の例
以下は 先ほどのXAML の例を コードビハインドで行う例です。
C# の例
public MainPage()
{
    InitializeComponent();
    myEditor1.HorizontalTextAlignment = TextAlignment.Start;
    myEditor2.HorizontalTextAlignment = TextAlignment.Center;
    myEditor3.HorizontalTextAlignment = TextAlignment.End;
}
XAML の例
<?xml version="1.0" encoding="utf-8" ?>
<ContentPage xmlns="http://schemas.microsoft.com/dotnet/2021/maui"
             xmlns:x="http://schemas.microsoft.com/winfx/2009/xaml"
             x:Class="MauiAppSample.MainPage">

    <ScrollView>
        <VerticalStackLayout Spacing="25" Padding="30,0" VerticalOptions="CenterAndExpand">

            <Editor x:Name="myEditor1" Text="Hello .NET MAUI" />
            <Editor x:Name="myEditor2" Text="Hello .NET MAUI" />
            <Editor x:Name="myEditor3" Text="Hello .NET MAUI" />

        </VerticalStackLayout>
    </ScrollView>

</ContentPage>
水平方向のテキスト配置位置を設定する例
テキストの垂直方向配置
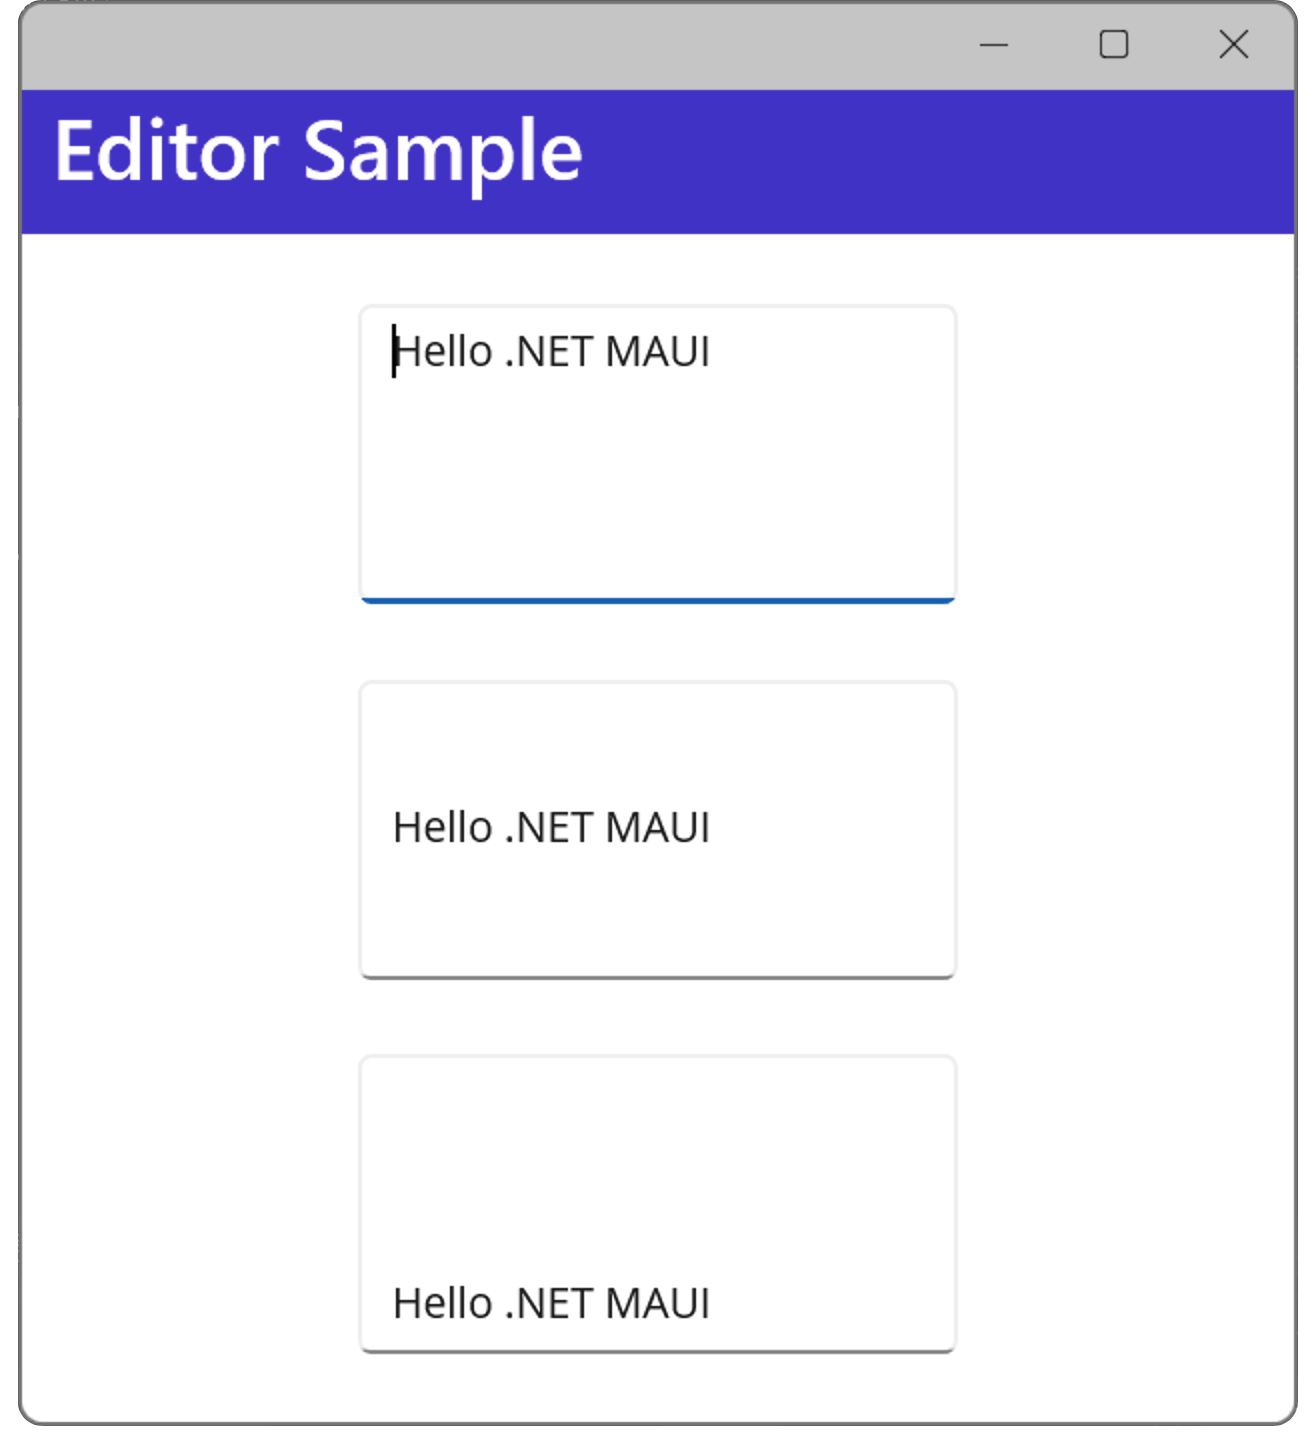
Editor に入力するテキストは、VerticalTextAlignment プロパティを使用して水平方向の配置位置を設定することができます。
| 値 | 説明 |
| Start | 上寄せ |
| Center | 中段 |
| End | 下寄せ |
XAML の例
XAML でテキストの垂直方向の配置位置を設定する例を以下に示します。
この例では 3つのEditor に上寄せ、中段寄せ、下寄せを設定しています。
XAML の例
<?xml version="1.0" encoding="utf-8" ?>
<ContentPage xmlns="http://schemas.microsoft.com/dotnet/2021/maui"
             xmlns:x="http://schemas.microsoft.com/winfx/2009/xaml"
             x:Class="MauiAppSample.MainPage">

    <ScrollView>
        <VerticalStackLayout
            Spacing="25"
            Padding="30,0"
            VerticalOptions="Center">

            <Editor Text="Hello .NET MAUI" WidthRequest="200" HeightRequest="100"
                   VerticalTextAlignment="Start" />
            <Editor Text="Hello .NET MAUI"  WidthRequest="200" HeightRequest="100"
                   VerticalTextAlignment="Center"/>
            <Editor Text="Hello .NET MAUI" WidthRequest="200" HeightRequest="100"
                   VerticalTextAlignment="End" />

        </VerticalStackLayout>
    </ScrollView>

</ContentPage>
C# の例
以下は 先ほどのXAML の例を コードビハインドで行う例です。
C# の例
public MainPage()
{
    InitializeComponent();
    myEditor1.HorizontalTextAlignment = TextAlignment.Start;
    myEditor2.HorizontalTextAlignment = TextAlignment.Center;
    myEditor3.HorizontalTextAlignment = TextAlignment.End;
}
XAML の例
<?xml version="1.0" encoding="utf-8" ?>
<ContentPage xmlns="http://schemas.microsoft.com/dotnet/2021/maui"
             xmlns:x="http://schemas.microsoft.com/winfx/2009/xaml"
             x:Class="MauiAppSample.MainPage">

    <ScrollView>
        <VerticalStackLayout
            Spacing="25"
            Padding="30,0"
            VerticalOptions="Center">

            <Editor x:Name="myEditor1"
                   Text="Hello .NET MAUI"
                   WidthRequest="200" HeightRequest="100"
                   VerticalTextAlignment="Start" />
            <Editor x:Name="myEditor2"
                   Text="Hello .NET MAUI"
                   WidthRequest="200" HeightRequest="100"
                   VerticalTextAlignment="Center"/>
            <Editor x:Name="myEditor3"
                   Text="Hello .NET MAUI"
                   WidthRequest="200" HeightRequest="100"
                   VerticalTextAlignment="End" />

        </VerticalStackLayout>
    </ScrollView>

</ContentPage>
水平方向のテキスト配置位置を設定する例
.NET MAUI Tips
本サイトでまとめている .NET MAUI Tips の一覧はこちらから確認できます。
Please follow and like us:

コメント