
本記事の概要
この記事では Border で角丸の枠線を作成する方法について説明します。
公式サイト情報はコチラを参照してください。
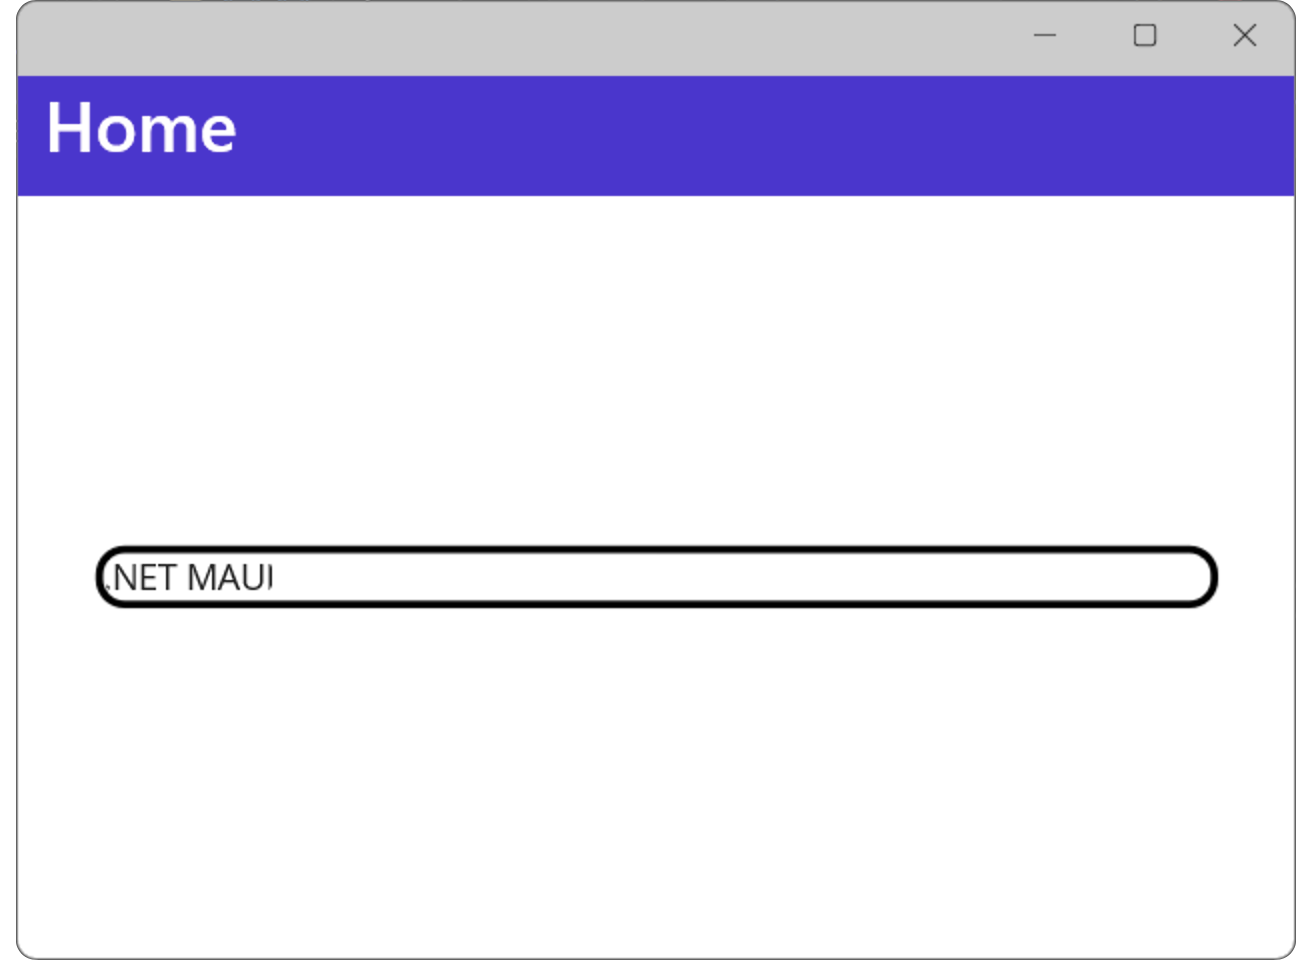
角丸枠線を作成する例
角丸枠線を作成する
XAML の例
XAML で 角丸枠線を作成するには、Border の StrokeShape プロパティを使用します。
StrokeShape には、角丸にするためのキーワードとして “RoundRectangle” と四隅の半径を指定します。
以下は、XAML で 角丸枠線を作成する例です。
XAML の例
<?xml version="1.0" encoding="utf-8" ?>
<ContentPage xmlns="http://schemas.microsoft.com/dotnet/2021/maui"
             xmlns:x="http://schemas.microsoft.com/winfx/2009/xaml"
             x:Class="MauiAppSample.MainPage">

    <ScrollView>
        <VerticalStackLayout
            Spacing="25"
            Padding="30,0"
            VerticalOptions="Center">

            <Border Stroke="Black"
                    StrokeThickness="3"
                    StrokeShape="RoundRectangle 10">
                <Label Text=".NET MAUI" />
            </Border>

        </VerticalStackLayout>
    </ScrollView>

</ContentPage>
C#の例
以下は 先ほどのXAML の例を コードビハインドで行う例です。
Border の StrokeShape プロパティには RoundRectangle のインスタンスを設定します。このとき CornerRadius を使用して四隅の半径を指定します。
C# の例
public MainPage()
{
    InitializeComponent();

    myBorder.Stroke = Colors.Black;
    myBorder.StrokeThickness = 3;
    myBorder.StrokeShape = new RoundRectangle
    {
        CornerRadius = new CornerRadius(10)
    };
}
XAML の例
<?xml version="1.0" encoding="utf-8" ?>
<ContentPage xmlns="http://schemas.microsoft.com/dotnet/2021/maui"
             xmlns:x="http://schemas.microsoft.com/winfx/2009/xaml"
             x:Class="MauiAppSample.MainPage">

    <ScrollView>
        <VerticalStackLayout
            Spacing="25"
            Padding="30,0"
            VerticalOptions="Center">

            <Border x:Name="myBorder" >
                <Label Text=".NET MAUI" />
            </Border>

        </VerticalStackLayout>
    </ScrollView>

</ContentPage>
角丸枠線を作成する例
.NET MAUI Tips
本サイトでまとめている .NET MAUI Tips の一覧はこちらから確認できます。
Please follow and like us:

コメント