
今回から数回に分けて、Deviceクラスの使用方法を見ていきます。
Xamarin.Formsは1つのソリューションで、iOS, Android, Windows Phone, Windows向けのアプリケーションを作成できるのは、すでに皆さんご存じかと思います。
このソリューションには、全てのデバイスで共通となるPCL(ポータブルクラスライブラリ)がありますが、デバイス毎に処理を分けたい場合はどうしたらよいか、というのが本日のテーマです。
この問題を解決するには、タイトルにもあるとおりDevice.OSプロパティを使用し、OSを判別することができます。
Device.OSには、起動しているターゲットを表す値(TargetPlatform列挙体の値)が入っています。
| 値 | 説明 |
| iOS | 起動しているデバイスがiOSであることを示す |
| Android | 起動しているデバイスがAndroidであることを示す |
| WinPhone | 起動しているデバイスがWindows Phoneであることを示す |
| Windows | 起動しているデバイスがWindwosであることを示す(Windows 8.1, Windows Phone 8.1, 全てのUWP/Windows 10 デバイス) |
以下に使用例を示します。
メイン画面のXAMLにはLabelコントロールが1つ配置されていますので、はじめに以下のように編集します。x:Name=”lblDevice” の部分が変更箇所です。
<?xml version="1.0" encoding="utf-8" ?>
<ContentPage xmlns="http://xamarin.com/schemas/2014/forms"
             xmlns:x="http://schemas.microsoft.com/winfx/2009/xaml"
             xmlns:local="clr-namespace:DeviceClassSample1"
             x:Class="DeviceClassSample1.MainPage">

  <Label x:Name="lblDevice"
         Text="Welcome to Xamarin Forms!"
         VerticalOptions="Center"
         HorizontalOptions="Center" />

</ContentPage>
以下は起動するデバイス毎に、Labelに表示する文字を変更する例です。
public MainPage()
{
InitializeComponent();
string myDevice = string.Empty;
switch (Device.OS)
{
case TargetPlatform.iOS:
myDevice = "iOS";
break;
case TargetPlatform.Android:
myDevice = "Android";
break;
case TargetPlatform.Windows:
myDevice = "Windows";
break;
case TargetPlatform.WinPhone:
myDevice = "Windows Phone";
break;
case TargetPlatform.Other:
myDevice = "その他";
break;
}
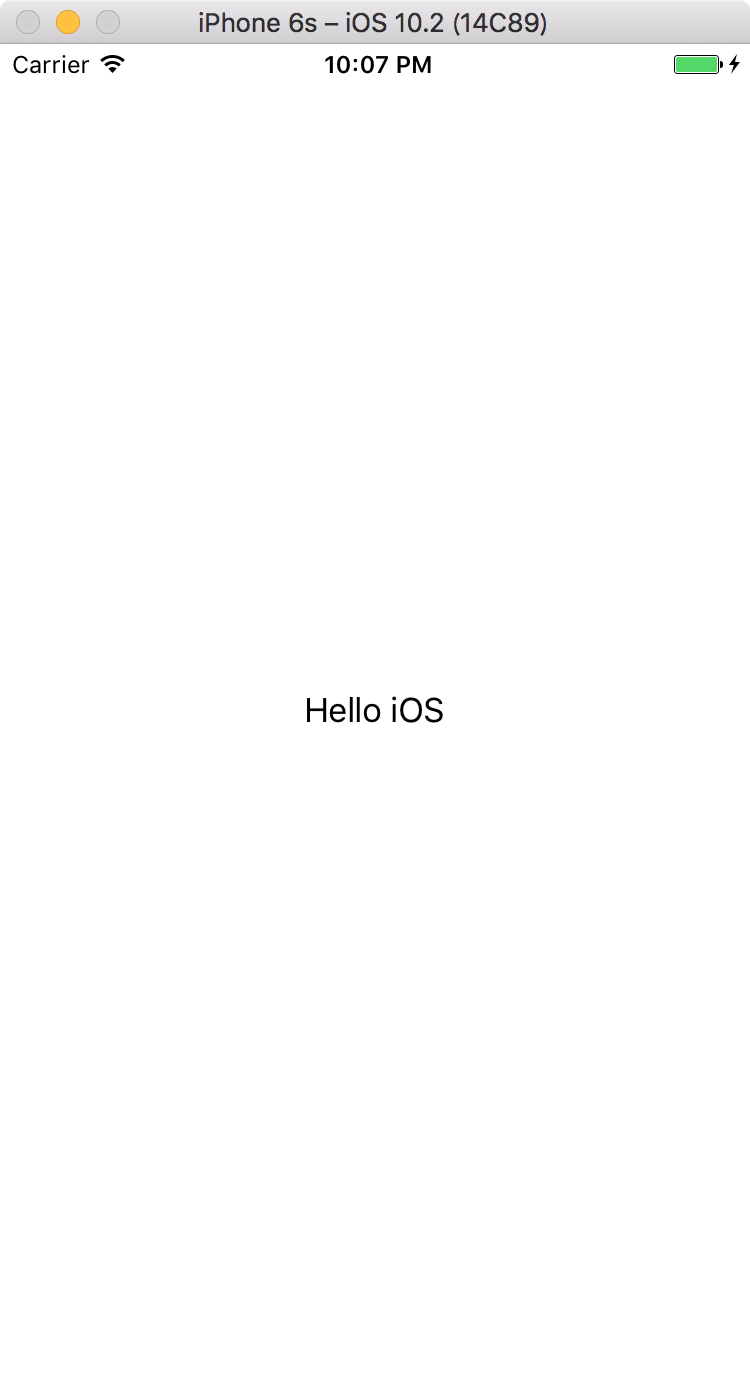
lblDevice.Text = $"Hello {myDevice}";
}
以下にiOSとAndroidの実行例を示します。
[
Please follow and like us:
コメント