
今回はCarouselPageを見ていきましょう。
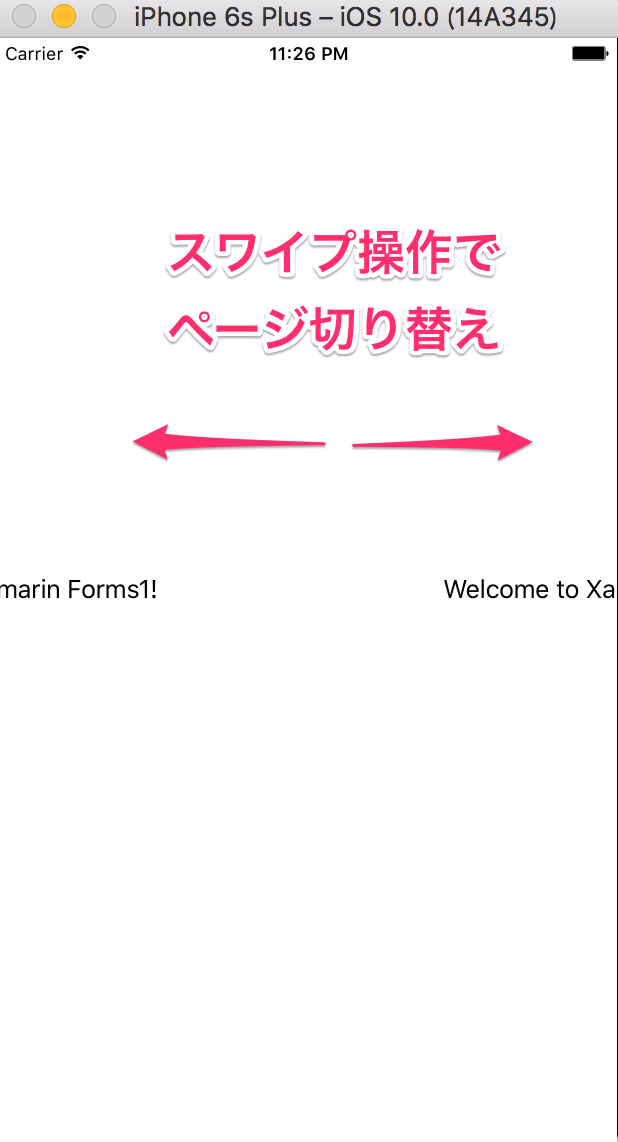
CarouselPageコントロールは、スワイプ操作によってページ切り替えを行うことができるようにするコントロールです。
新規でプロジェクトを作成するとメインのXAMLは以下のようにContentPageが配置されています。
<?xml version="1.0" encoding="utf-8"?>
<ContentPage xmlns="http://xamarin.com/schemas/2014/forms" xmlns:x="http://schemas.microsoft.com/winfx/2009/xaml" xmlns:local="clr-namespace:CarouselPageSample" x:Class="TabbedPageSample.TabbedPageSamplePage">
	<Label Text="Welcome to Xamarin Forms!" VerticalOptions="Center" HorizontalOptions="Center" />
</ContentPage>
CarouselPageを使用する場合は上記のContentPageをCarouselPageに変更し、その中に必要なページの数だけContentPageを配置します。
これによりページをスワイプで切り替えれらるようになります。ページに表示するデザインは、それぞれのContenPageの中で行います。
以下はCarouselPageの例です。
<CarouselPage xmlns="http://xamarin.com/schemas/2014/forms"
		xmlns:x="http://schemas.microsoft.com/winfx/2009/xaml"
		xmlns:local="clr-namespace:CarouselPageSample"
		x:Class="CarouselPageSample.CarouselPageSamplePage">
	<ContentPage Title="Page1">
		<Label Text="Welcome to Xamarin Forms1!" VerticalOptions="Center" HorizontalOptions="Center" />
	</ContentPage>
	<ContentPage Title="Page2">
		<Label Text="Welcome to Xamarin Forms2!" VerticalOptions="Center" HorizontalOptions="Center" />
	</ContentPage>
		<ContentPage Title="Page3">
		<Label Text="Welcome to Xamarin Forms3!" VerticalOptions="Center" HorizontalOptions="Center" />
	</ContentPage>
</CarouselPage>
また、XAMLのコードビハインドは以下のようにCarouselPageを継承するように変更をします。
using Xamarin.Forms;

namespace CarouselPageSample
{
	public partial class CarouselPageSamplePage : CarouselPage
	{
		public CarouselPageSamplePage()
		{
			InitializeComponent();
		}
	}
}
上記の実行例を以下に示します。
関連記事
Please follow and like us:
コメント